Showing posts with label DIY Genealogy. Show all posts

Thursday, December 20, 2012

TOP 7 Family History Gifts DIY (Do It Yourself)

These simple family history gifts will become cherished heirlooms to your family for many generations.
Teach Me Genealogy's TOP 7 DIY Family History gifts:


Merry Christmas & Happy New Year.

-Sarah

Wednesday, October 24, 2012

Genealogy in a Jar - A Unique Gift.

Everyone LOVES a unique gift! So, I'm here to teach you how to make the "Genealogy in a Jar" for yourself or for a special person as a gift for; Christmas, Birthday's, Father's Day, Mother's Day, Family Reunions, Parties and more.

Supplies needed:
  • A Jar. You could use a mason jar, but my favorite is the Burken Jar w/lid from Ikea (37 oz. $3.99, 7" tall). Click link above to go to Ikea for a closer look. 
  • Genealogy & family documents COPIES ONLY!! NEVER USE ORIGINAL DOCS
    • Pedigree Charts
    • Family Group Records
    • Birth Certificates
    • Marriage Certificates
    • Death Certificates
    • Census Records
    • Awards
    • Land Deeds
    • Anything you can think of
  • Photos : At least 3 or more. Use portrait style photos 4" wide by 6" tall. They will  fit perfectly inside this jar. (I get my photos printed at Costco for only 13 cents a photo).
All of these family photos and documents fit inside my jar, plus I had room to spare.

Let's Begin:  
Take your front photo and place in the jar, just bend a little so you can get it through the top. Once inside, the photo should fit perfectly in height around the contoured jar. The jar will fit 3, 4x6 photos going around. Note: The photos do not need to be taped to stay in place, the documents will hold them.
Next, place the Documents inside. Just like the photos, bend a little to contour the inside of the jar. Look how great it looks!!!

Meet my Beautiful grandma; Ruth Imogene Adams Burnes. 1923-2011.
For the finishing touches, I used ribbon and rub on letters for my grandma's name. 
You can also use stickers or vinyl for the name.

Wa-la!! You're done. Seriously, wasn't that a cinch? Your Christmas & Birthday shopping just got a lot easier and cheaper!!

To
tal Cost: $5.91 -  Total Time: 15-30 minutes

The Completed look of the "Genealogy in a Jar".


"Connect The Dots and Have FUN!

Friday, September 28, 2012

Using Photoshop to Create Timeless Heirlooms: Framed Photo with Keywords and Grandpa's Signature. 7 Easy Steps.


I will teach you how to use Photoshop to create Timeless Heirlooms IN 7 EASY STEPS:

You WILL NEED:

  1. A scanned or copied photo of a family member or ancestor (never use original photos)
  2. Some Keyword facts about your family member or ancestor (see image for examples)
  3. Photoshop, (you can download a free trial here).
Here's a framed  photo of my Grandpa, William Emry Burnes, using keywords to portray the man he was.  After doing research and asking grandma questions, I learned so much about him. So with the gathered information, I decided NOT to write a novel, instead I would write "keywords" to portray his character and attributes.  My goal was to keep the interest of my reader and in 10 seconds or less, they would know who my grandpa was. For the finishing touch, I wanted to add something personal; his signature, which I happened to find on his fishing license. So I scanned it, and using Photoshop, I pieced it all together. This has probably been my favorite Family History Project yet!!

I promise this is EASY, and if you don't have Photoshop, you can download a free trial 
here.

My Grandpa was a Mechanic and a Sheriff, so I thought these accessories worked perfectly..
I found the cute sheriff's car for $20 and the mechanic sign for $10 both at Hobby Lobby.


My Grandpa's signature was the the perfect touch to complete this heirloom. 
The frame was 50% off $28, so I paid $14 at Hobby Lobby.
YOU WANT THIS NOW DON'T YOU? Well I am here to teach you. 

STEP 1: Open Photoshop, and create a new file (Click on "File" then "New")
I named the file and set the parameters to this below: 

STEP 2: Open your favorite background image (or use this one below) and drag or copy the background into the current file. I will share this famous background with you, here you go: (Click on image to enlarge then right mouse click and "save image as").

IMPORTANT:  STAY AT LEAST 1/8 OF AN INCH AWAY FROM ALL EDGES FOR FRAMING. (ctrl + R, gives you the ruler for guidelines . If you don't plan on framing, take your image to the edge of your design.

STEP 3:
 Open the image you would like to use of your family member or ancestor (do not drag or copy it into your file yet).  Click on the "POLYGON LASSO" Tool (looks like this):


STEP 4:
Start using the polygon lasso tool by LEFT MOUSE 
clicking in small areas around the image until you have come completely around to where to started from and do one last left mouse click. You'll now see little dancing lines, click on the "DRAG" tool, and drag it into your file.
Drag tool will look like this:


Here's the result:


STEP 5:  Fix the jagged edges and color.  As you can see, there were a few rough edges (especially around the head), so with a fine eraser brush of 5 pixels (with soft edges), erase those jagged edges. ( click on the icon that looks like an eraser on the Left side). 

Fix the color: As you can see it's very yellow, so I added a "COOLING FILTER" to this this by clicking on "IMAGE" (at the very top) then "ADJUSTMENTS" then "PHOTO FILTER" then "COOLING FILTER 80" and set it to 25% (any more than that, will make the image too blue). Then I brightened and added more contrast until it looked like this.
NOTE: If your original image is too blue add a warming filter instead.

Here's the result from fixing the color and jagged edges: 

STEP 6:
  Add the text. Click on the "Text" Tool (on the left) It looks like a capitol "T" and add the KEYWORDS that explain your family member. I used words like: Sheriff - 5'7" - Christian - Napa, CA - Navy WWI, and so on. Do as many or little words that you would like. Remember save some room on the bottom for the signature. If you don't have a signature to add, make your words equally spaced from the top.


After you've added the words, It should look like this:


STEP 7:
  Add the signature. I opened a scanned copy of my grandpa's signature and using the "POLYGON LASSO TOOL" from before, I cut around his signature and dragged it into the file.

After you've added the signature, It should look like this:
Send your digital creation off to be printed. I used Costco because it was only 39 cents (.42 with tax) for a 5x7 print and it only took 1 hour.

Now for the final touch; the frame. Get a 5x7 frame (mine is from Hobby Lobby $14) and frame your AMAZING HEIRLOOM.

WA-LA, YOUR DONE!!  Notice how the 1/8th inch border was the perfect amount for framing.


Total Cost: $14.42 (Includes frame and 5x7 print)
Total Time: 25-45 minutes

Don't have the time to do this?
The Teach Me Genealogy Design Team can create this for YOU for only $20
(high resolution jpg image w/ print release)

send an email to sarah@tmgenealogy.com with your image and keywords.
"Connect The Dots"

Thursday, August 30, 2012

FREE Pedigree Charts for Kids and Teenagers. Type, Print & Frame in 30 Min.

Here's a super cute and inexpensive way to incorporate family history into your child's bedroom by using a colorful Family Tree (pedigree chart). This is my 13 year old daughters bedroom with accents of family history. On the left wall you will see the family tree that I designed to match the exact colors of her bedding, so it all ties together perfectly :)
Now, don't you think your child needs a framed pedigree chart displayed in their bedroom? Well, you're in luck, because I have completed 3 different designs for the 4 generation "Type & Print" pedigree charts, that allows you to:
  • Type, Print & Frame (8x10) in 30 minutes or less
  • Print, Write & Frame (8x10)   in 30 minutes or less
Pedigree Chart Tips:
  • For female, always use the maiden name, (First, Middle, Maiden). Never use married name on a pedigree chart.
  • Father's name always goes on the top, ascending to the right. 
  • Mother's name always goes on the bottom, descending to the right.
Now let's get started! 5 Easy Steps:
  1. Click:  on your favorite pedigree chart below to download your pdf "Type & Print" pedigree    chart. (Make sure you have Adobe Reader installed on your computer).
  2. Type:  your Genealogy! Hit "Tab" to go to the next field.  Note : "you cannot save data typed into this form. Please print your completed form, if you want a copy for your records". (Have your Genealogy & Family History close by to refer to as you type.)
  3. Print:  on 8.5 x 11 paper or scrapbook paper. Here are a few paper examples that I bought at Hobby Lobby (.40 a piece)
  4. Cut:  The 8x10 border on your printed 8.5 x 11 
  5. Frame!  In 30 minutes or less, you can have a beautiful framed pedigree chart!!
  Step 1: Click on 1 of the 3 pedigree charts below to download:

Pedigree Chart #1: Click image to download pdf "type and print" form. Once you've clicked  on the image it will automatically download to your computer. It usually saves in your "Download" folder. 
Pedigree Chart #2: Click image to download pdf "type and print" form
Pedigree Chart #3: Click image to download pdf "type and print" form

Step 2 Type:
 your Genealogy! (Hit tab to move to the next field)

Step 3 Print:
 on 8.5 x 11 scrapbook paper. Here are a few paper examples:

Step 4 Cut
 
t
he 8x10 border on your printed 8.5 x 11 

Step 5 Frame! 
You now have a beautiful framed pedigree chart!! Isn't it adorable!!
Total Cost of Project: $5 (spray painted frame from thrift store)
Total Time spent on project: 29 minutes.

Other decorative items shown: 
Black Shelf from Hobby Lobby (On sale for $12)
Zebra 5x7 frame from Hobby Lobby (on sale for $10)
Green Frame from Hobby Lobby (on Sale for $10)
Mirrored "Love" wall art from Hobby Lobby (on sale for $7)

Click here to Leave a comment and share how your pedigree chart turned out.  

Wednesday, August 22, 2012

Who Loves ME? Family History Photo Book

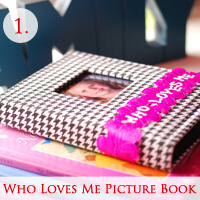
Babies, children and even teenagers love pictures of their family members. Here's a creative way to teach your children about their heritage in a cute, easy and inexpensive way; with this Family History Photo Book.

I used a cute {and very inexpensive} 4x6 photo album at Walmart for $3
{They even have cheaper ones}

There is a 2x2 photo opening on the front of the photo album, 
 so I used one of my daughters 2x3 school pix and cut 1 inch off the bottom, 

and it fit perfectly!! Pretty cute, right?

I wanted to add some ribbon & sticker letters to finish off the look.
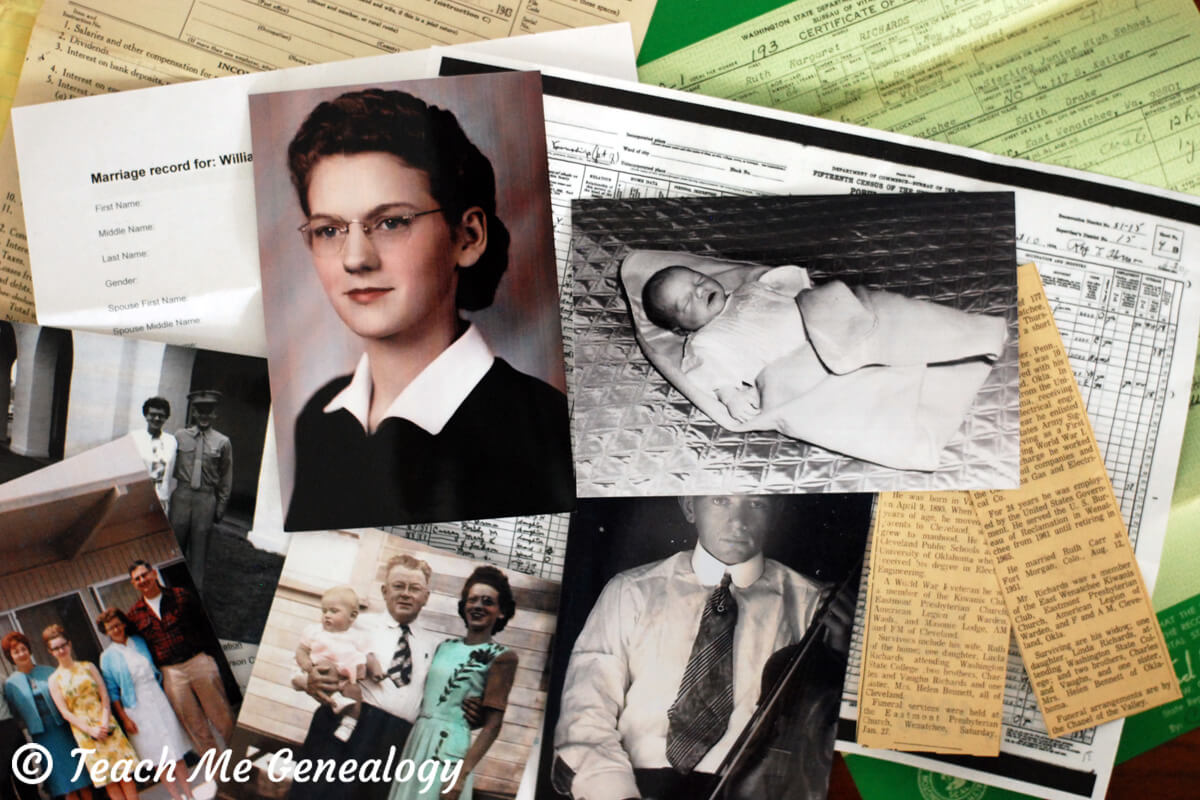
I filled the album with 4x6 photos of our family, 

and uncles, aunts, Grandparents, Great Grandparents and other ancestors.

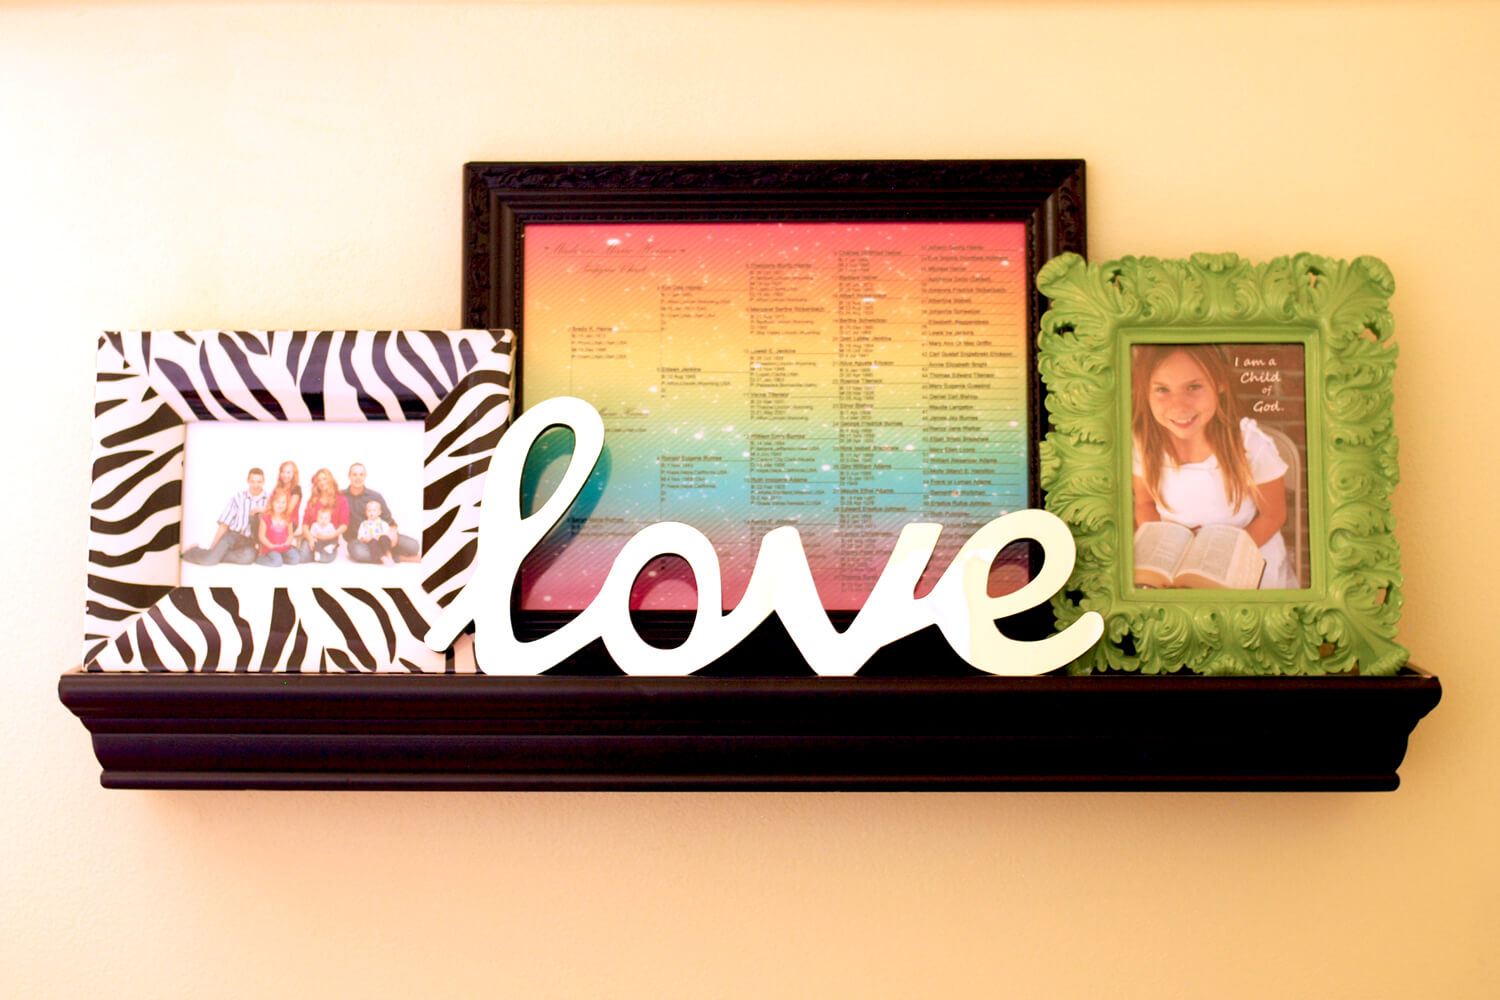
 On her nightstand is where it stays and bedtime is filled with questions and learning about each family member. At a young age, she has learned a deeper meaning to the word FAMILY. 
Total Time: 25 minutes
Total Cost: $4.50 (album & photos)
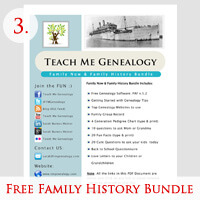
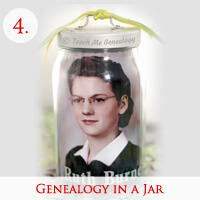
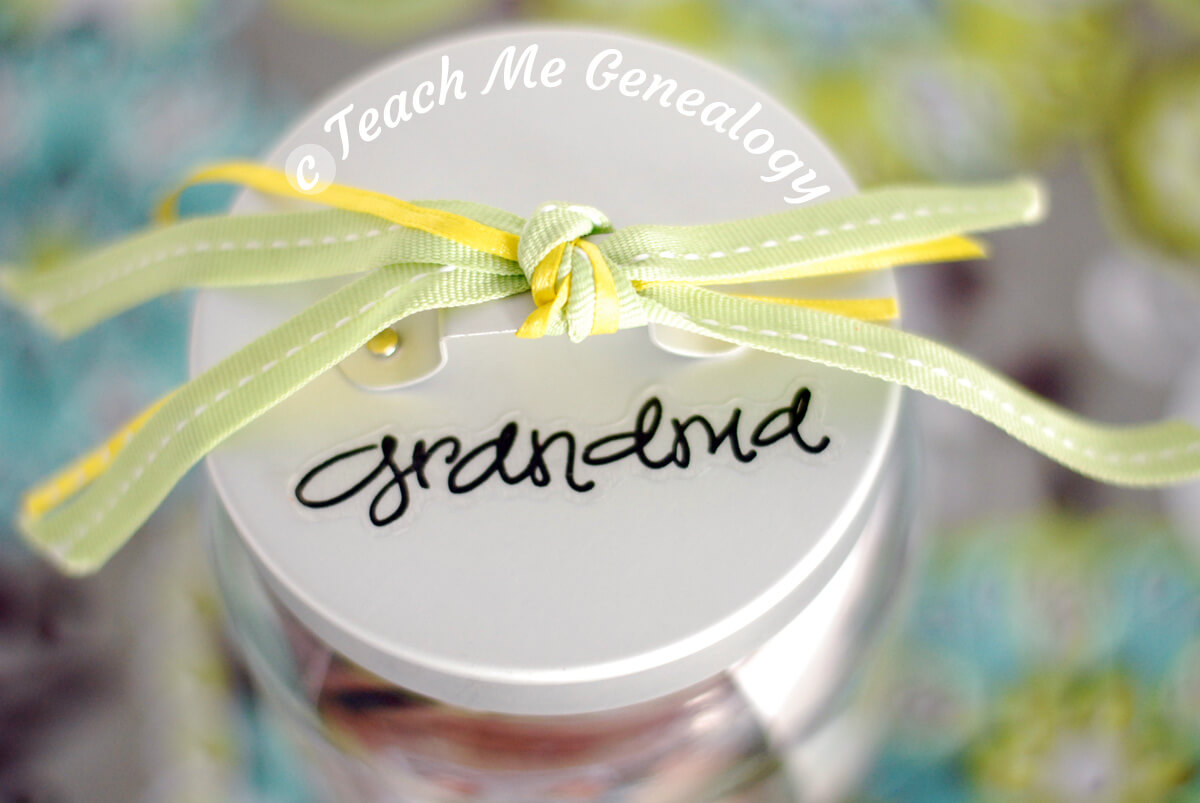
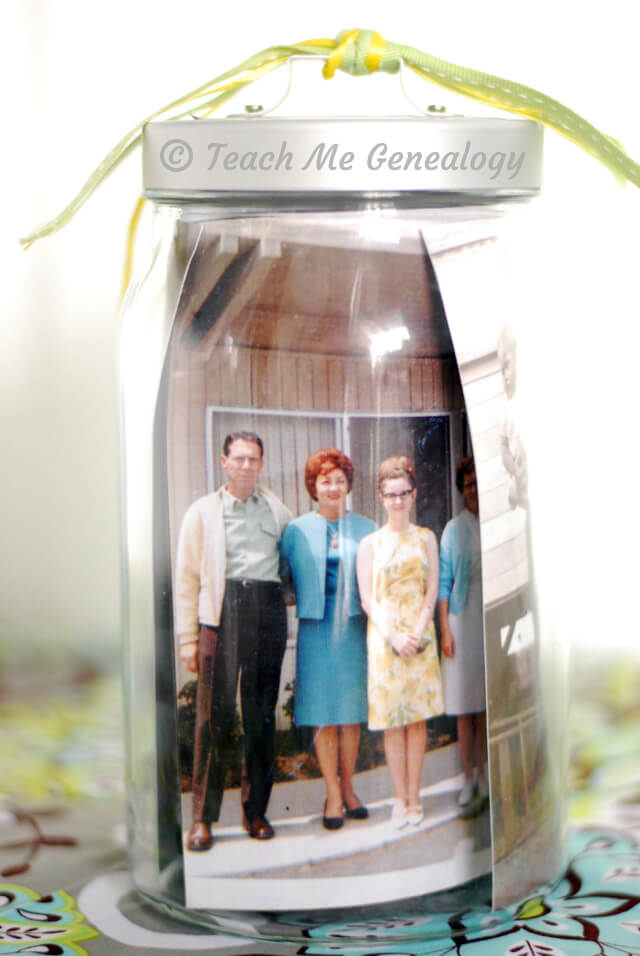
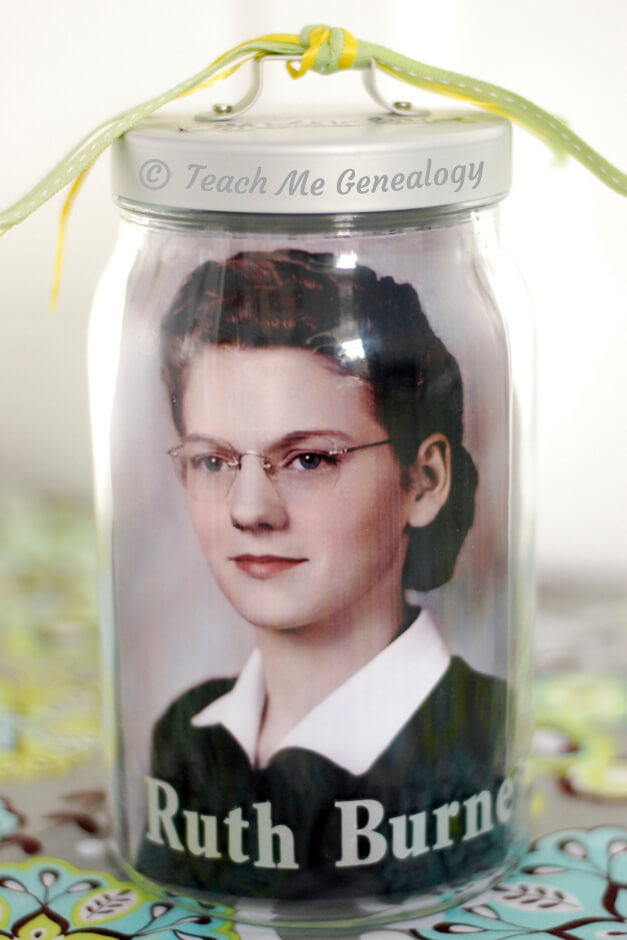

Monday, August 13, 2012

Back to School - Mailbox Love-Letters for your Kids. Free Printable


Don't we all love getting Love Letters? Here's a fun and easy way for your child to get love letters in the mail. Just download this "Love-Letters" Template, and re-use over and over again. It's a fillable form, which means you can type in the blanks, so it's unique answers are specific to your child. What a perfect way to show your love as your child gets back to school. Be sure to keep these love letters as keepsakes for your family history :)

Click here to download your FREE Love-Letters Fillable Form >>
Once opened,    in the upper left corner,  click File, then Download