

You WILL NEED:
- A scanned or copied photo of a family member or ancestor (never use original photos)
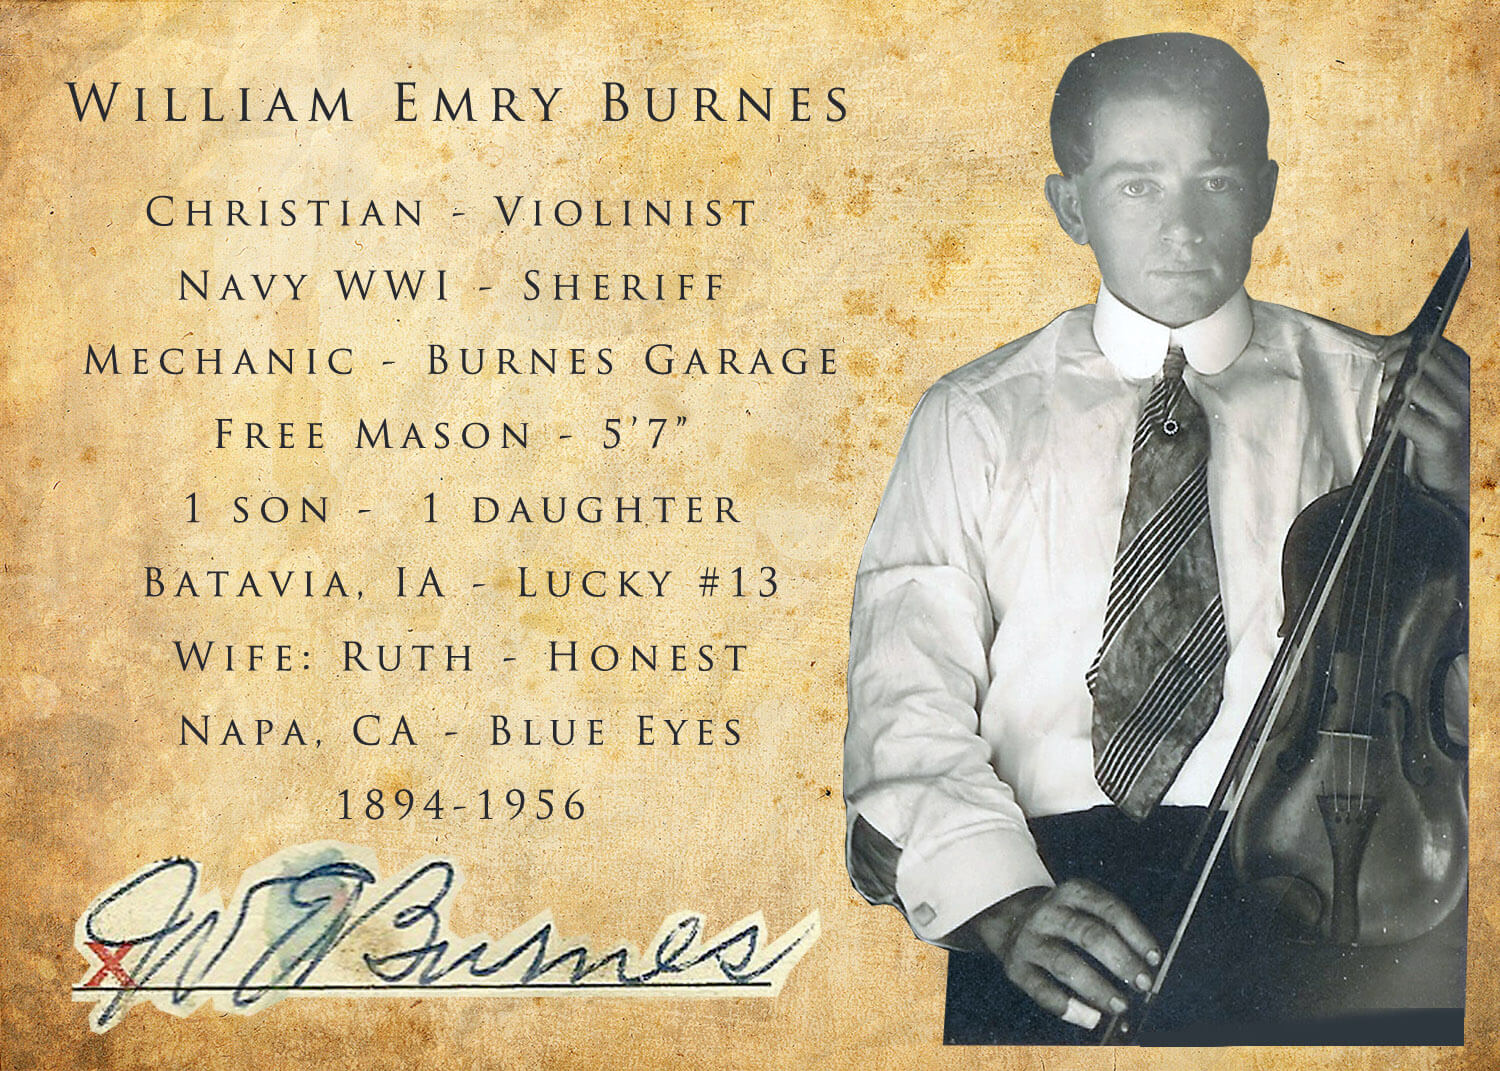
- Some Keyword facts about your family member or ancestor (see image for examples)
- Photoshop, (you can download a free trial here).
I promise this is EASY, and if you don't have Photoshop, you can download a free trial here.

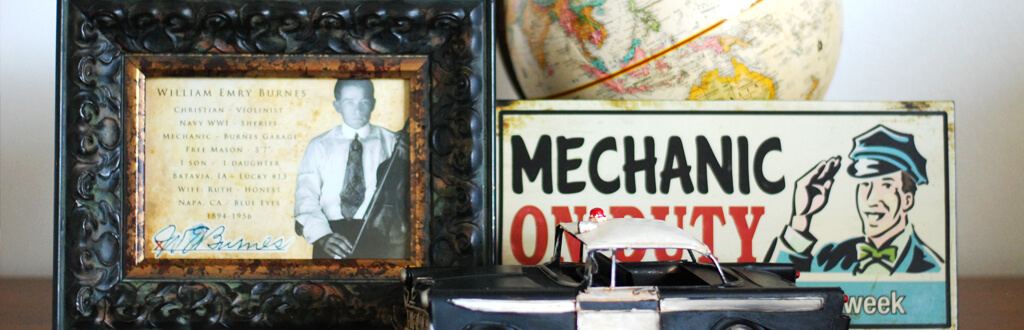
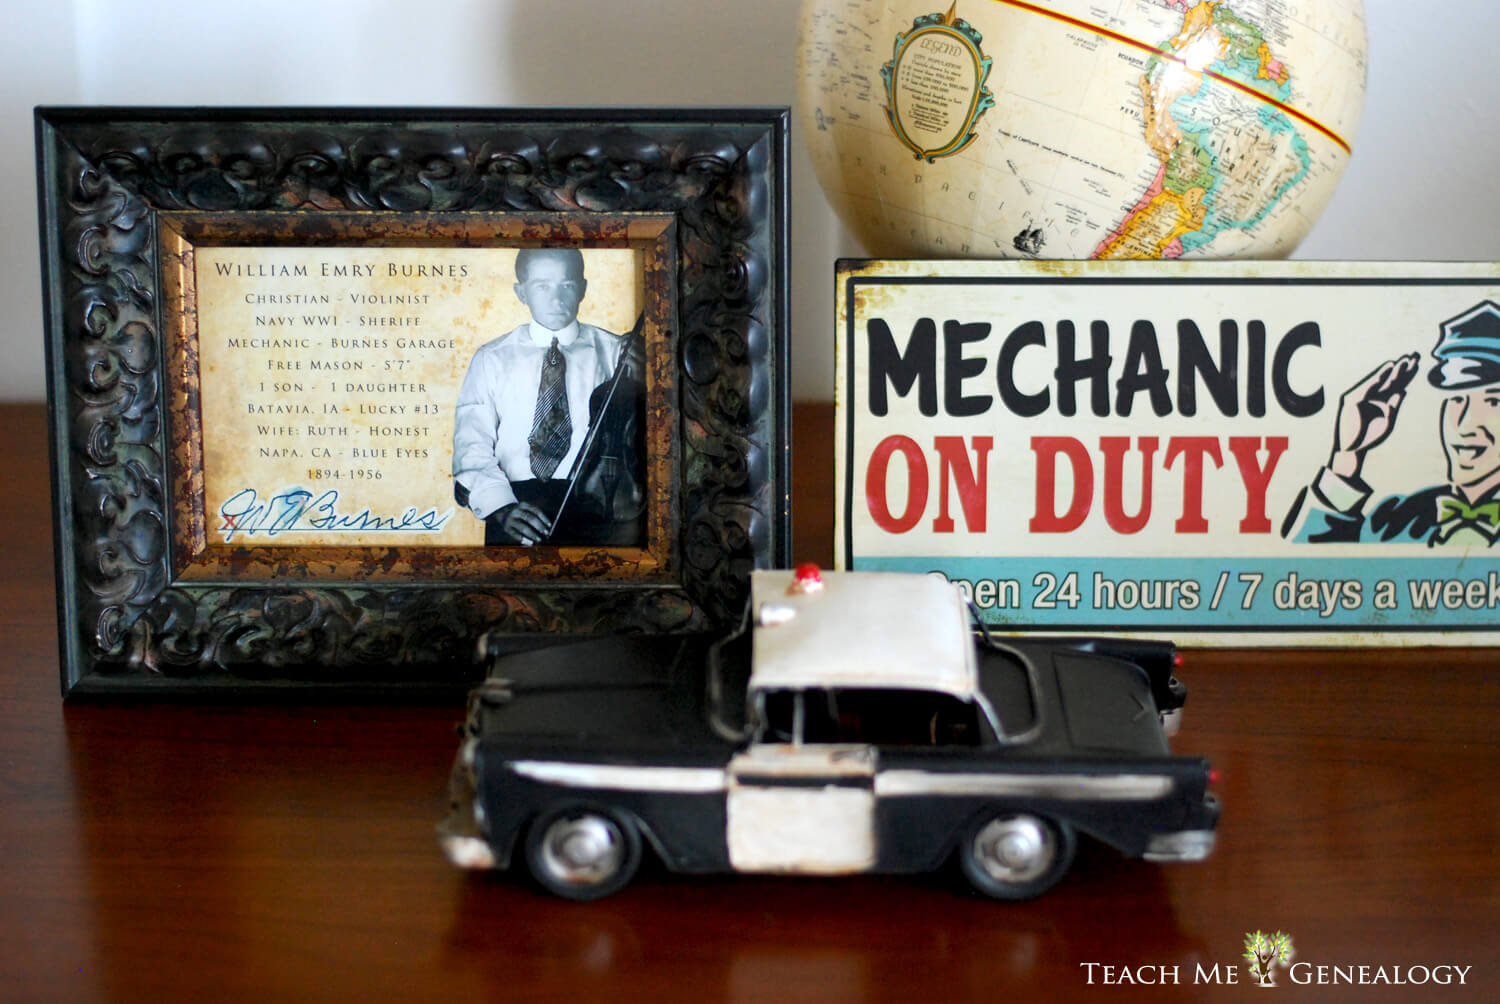
My Grandpa was a Mechanic and a Sheriff, so I thought these accessories worked perfectly..
I found the cute sheriff's car for $20 and the mechanic sign for $10 both at Hobby Lobby.
I found the cute sheriff's car for $20 and the mechanic sign for $10 both at Hobby Lobby.
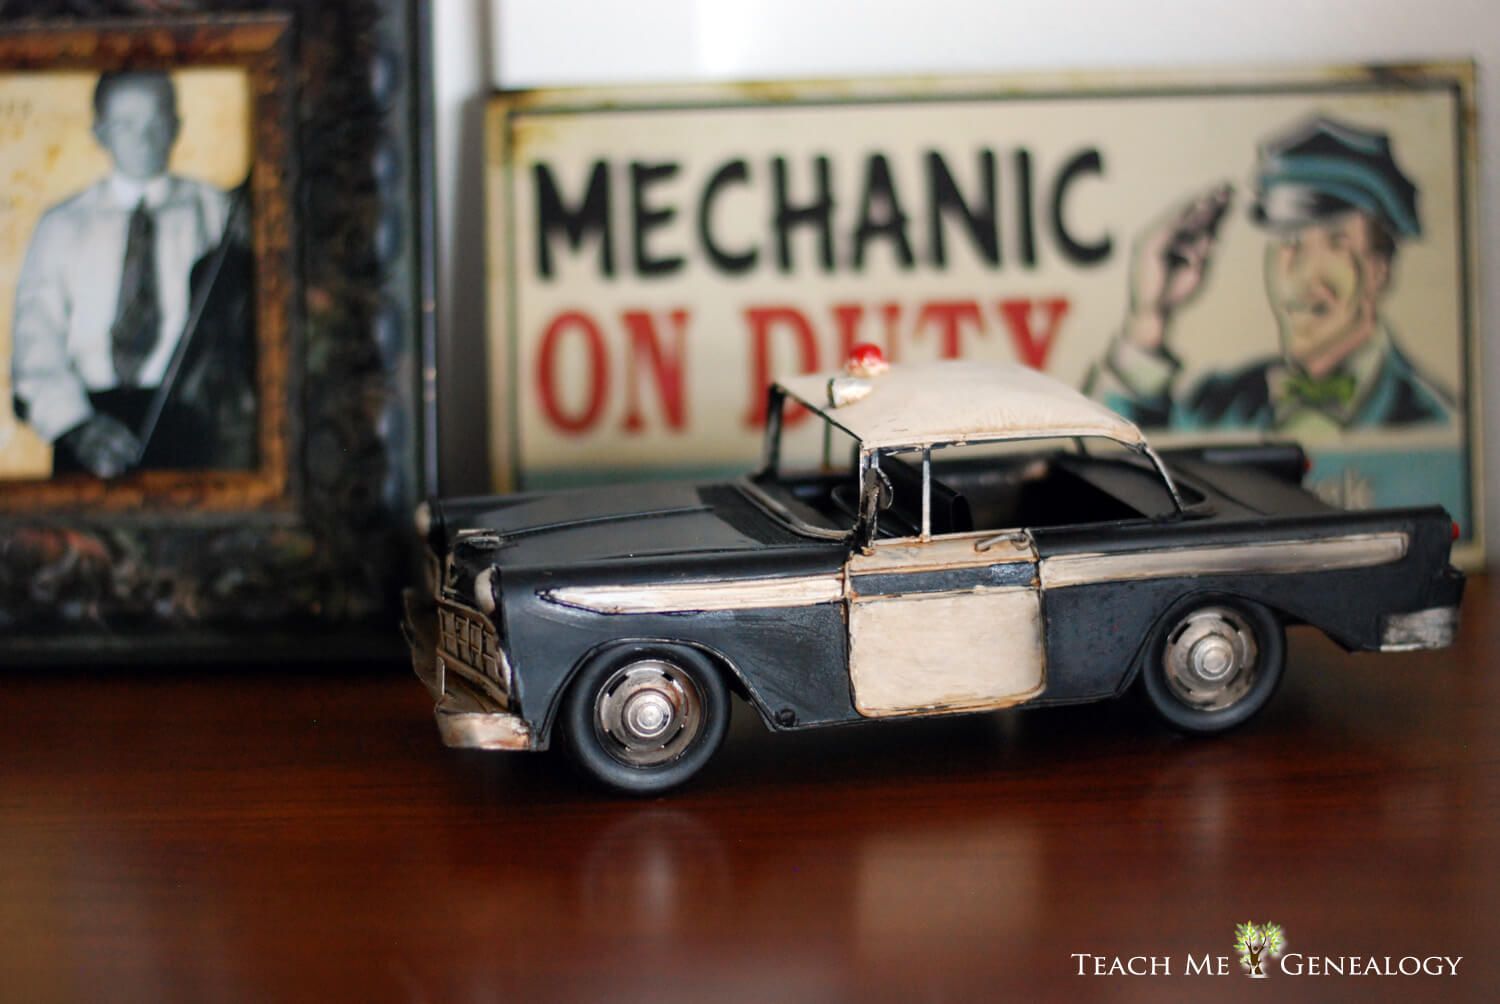
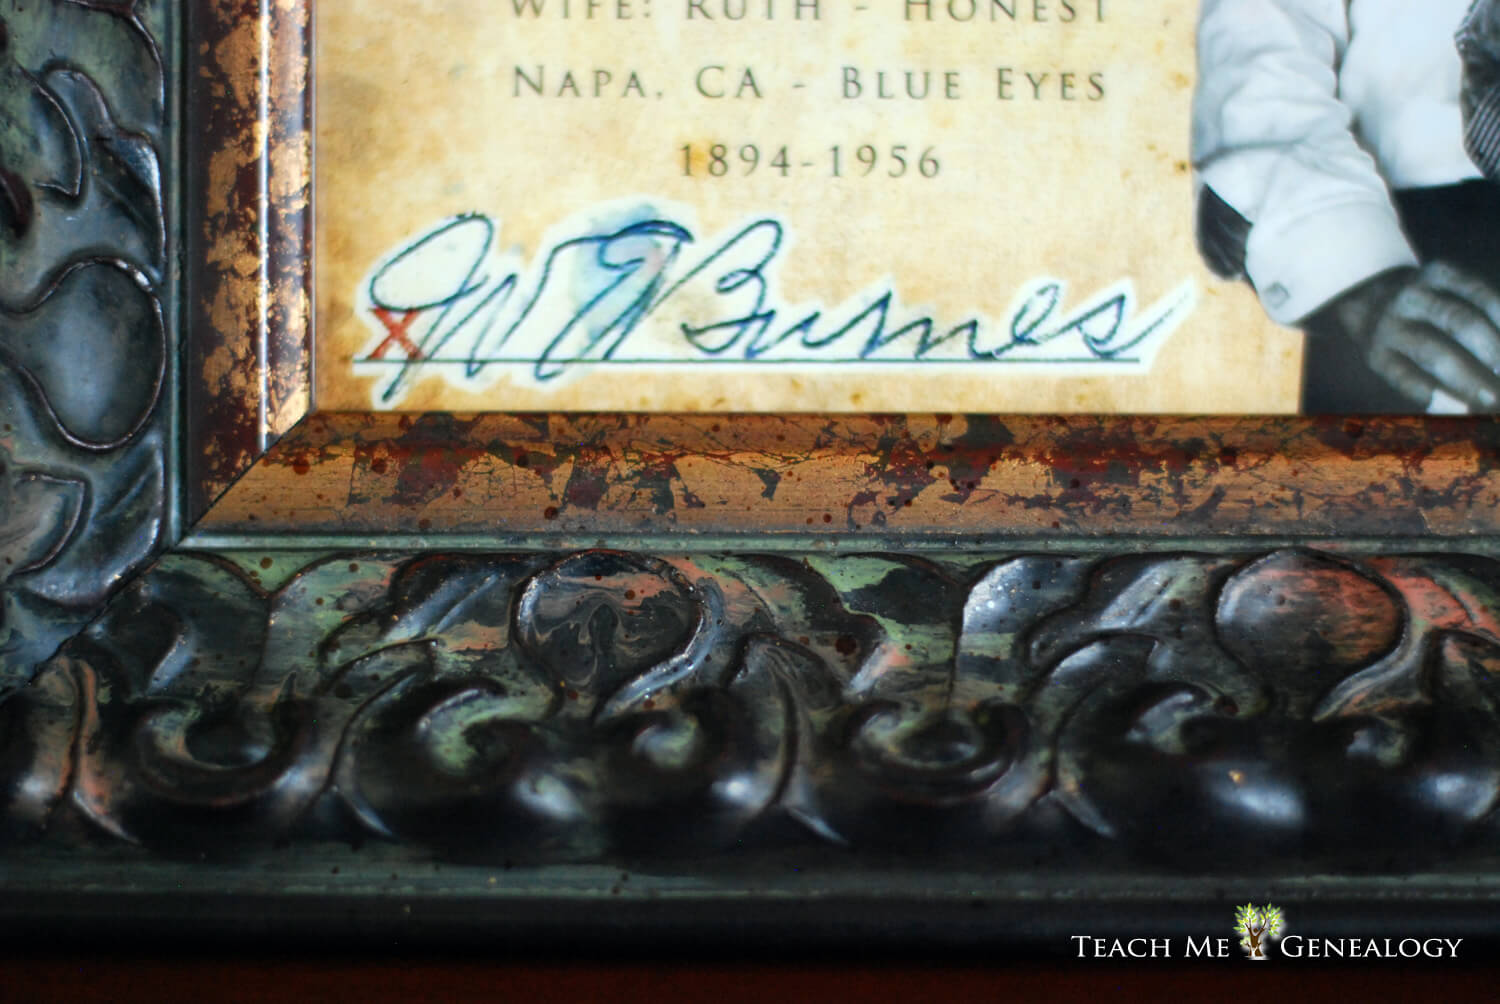
My Grandpa's signature was the the perfect touch to complete this heirloom.
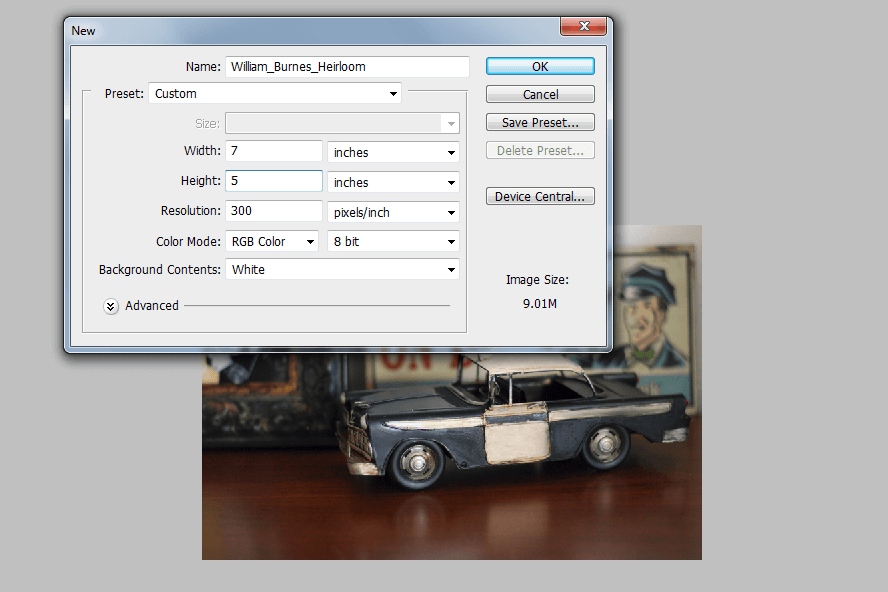
STEP 1: Open Photoshop, and create a new file (Click on "File" then "New")
I named the file and set the parameters to this below:
STEP 2:
Open your favorite background image (or use this one below) and drag or copy the background into the current file. I will share this famous background with you, here you go: (Click on image to enlarge then right mouse click and "save image as").

IMPORTANT: STAY AT LEAST 1/8 OF AN INCH AWAY FROM ALL EDGES FOR FRAMING. (ctrl + R, gives you the ruler for guidelines . If you don't plan on framing, take your image to the edge of your design.

IMPORTANT: STAY AT LEAST 1/8 OF AN INCH AWAY FROM ALL EDGES FOR FRAMING. (ctrl + R, gives you the ruler for guidelines . If you don't plan on framing, take your image to the edge of your design.
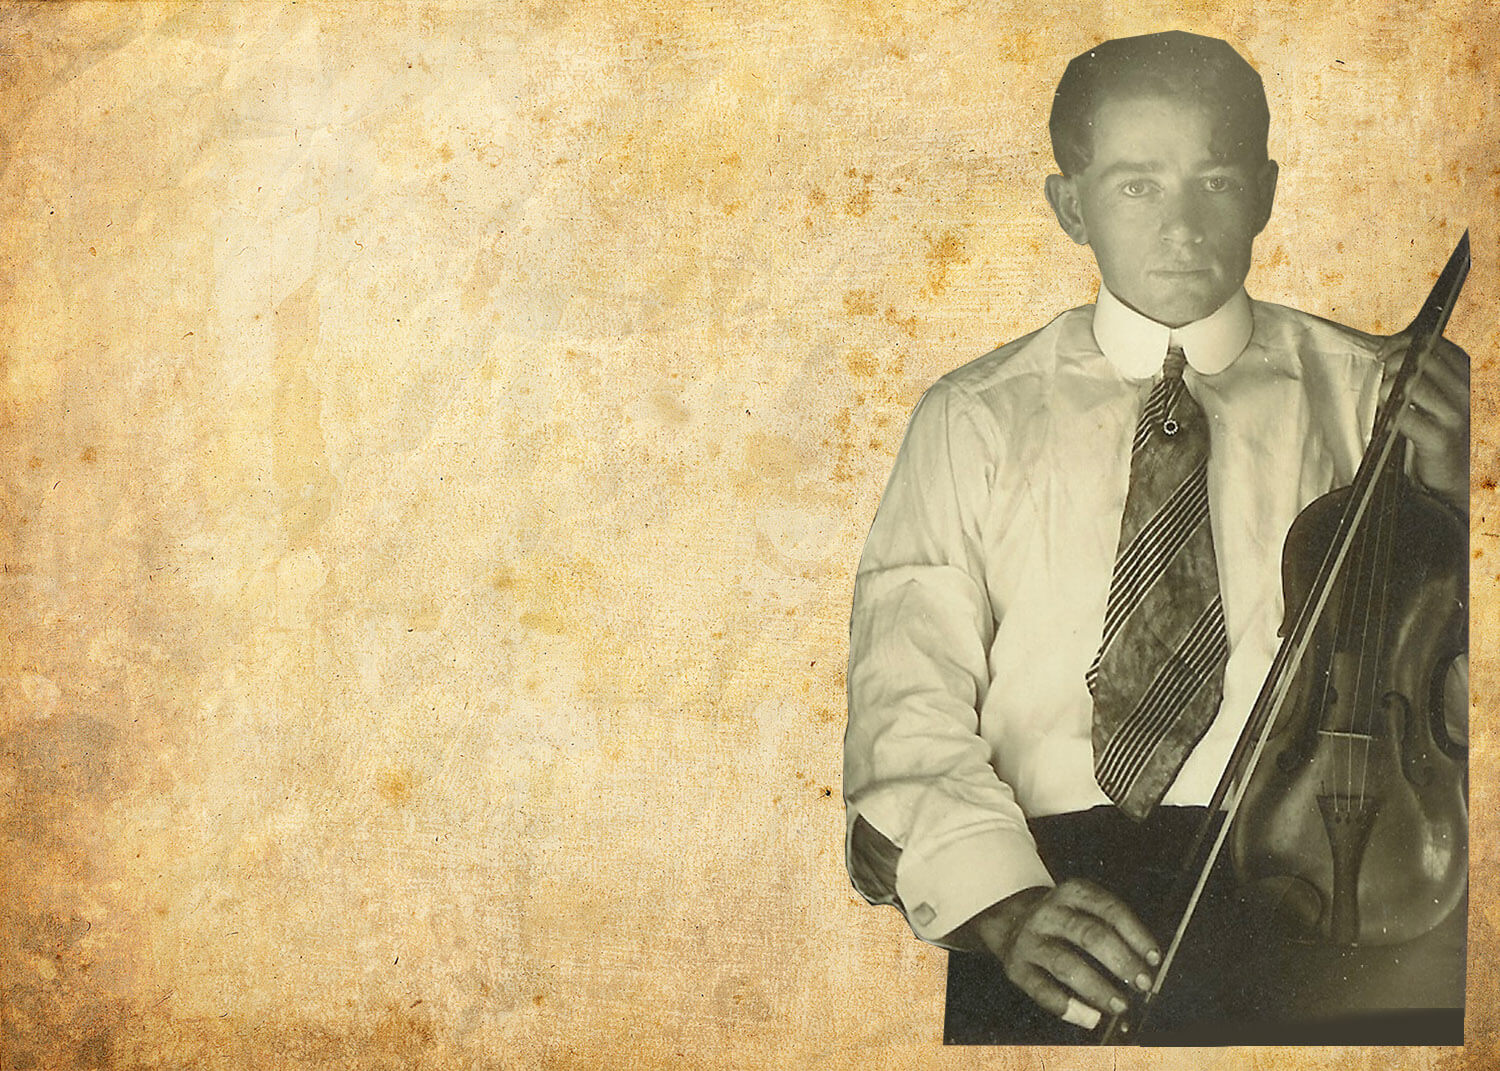
STEP 3: Open the image you would like to use of your family member or ancestor (do not drag or copy it into your file yet). Click on the "POLYGON LASSO" Tool (looks like this):
STEP 4: Start using the polygon lasso tool by LEFT MOUSE clicking in small areas around the image until you have come completely around to where to started from and do one last left mouse click. You'll now see little dancing lines, click on the "DRAG" tool, and drag it into your file.
Drag tool will look like this:
Here's the result:
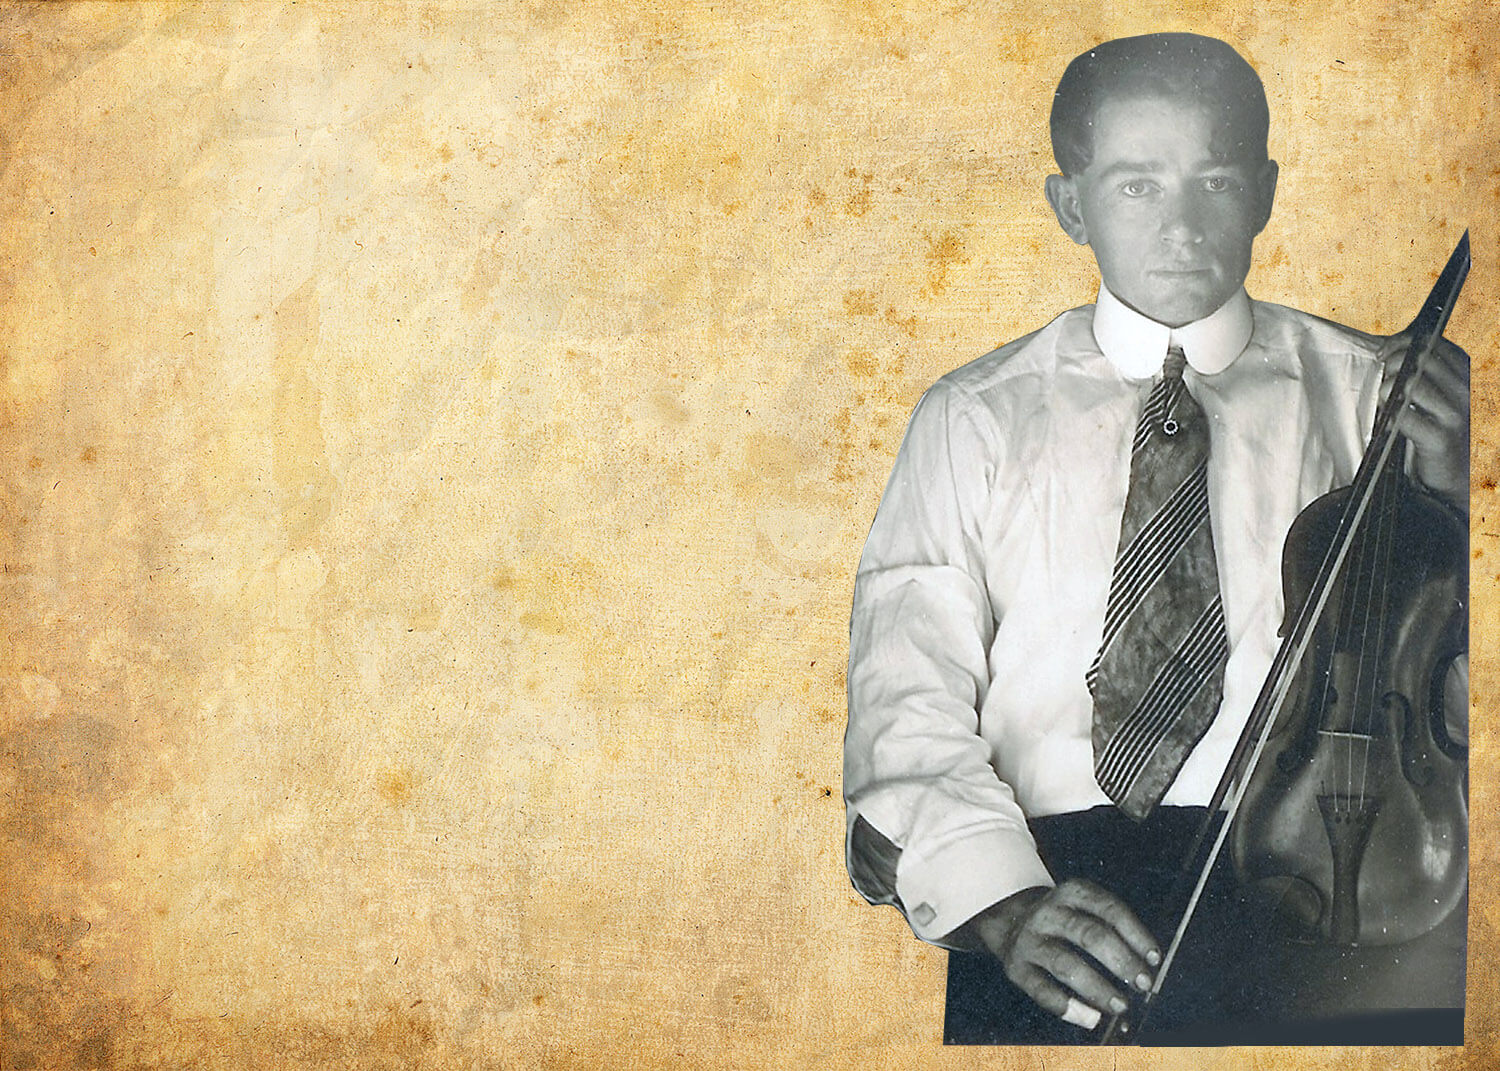
STEP 5: Fix the jagged edges and color. As you can see, there were a few rough edges (especially around the head), so with a fine eraser brush of 5 pixels (with soft edges), erase those jagged edges. ( click on the icon that looks like an eraser on the Left side).
Fix the color: As you can see it's very yellow, so I added a "COOLING FILTER" to this this by clicking on "IMAGE" (at the very top) then "ADJUSTMENTS" then "PHOTO FILTER" then "COOLING FILTER 80" and set it to 25% (any more than that, will make the image too blue). Then I brightened and added more contrast until it looked like this.
NOTE: If your original image is too blue add a warming filter instead.
Here's the result from fixing the color and jagged edges:
NOTE: If your original image is too blue add a warming filter instead.
Here's the result from fixing the color and jagged edges:
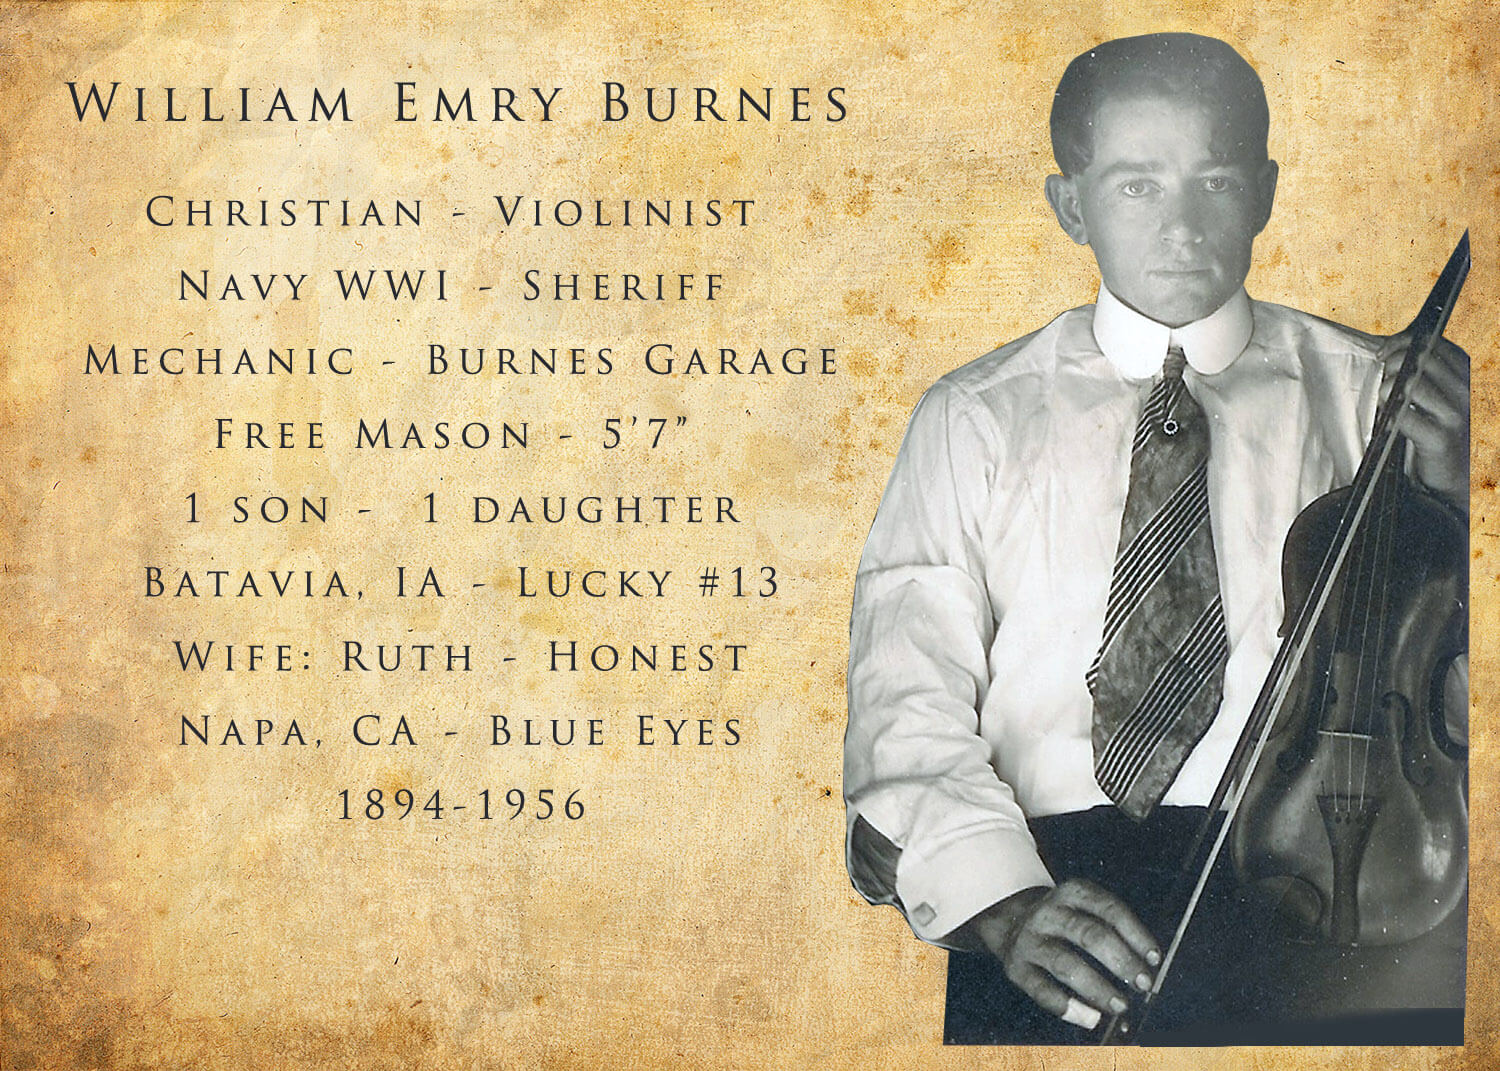
STEP 6: Add the text. Click on the "Text" Tool (on the left) It looks like a capitol "T" and add the KEYWORDS that explain your family member. I used words like: Sheriff - 5'7" - Christian - Napa, CA - Navy WWI, and so on. Do as many or little words that you would like. Remember save some room on the bottom for the signature. If you don't have a signature to add, make your words equally spaced from the top.
After you've added the words, It should look like this:
STEP 7: Add the signature. I opened a scanned copy of my grandpa's signature and using the "POLYGON LASSO TOOL" from before, I cut around his signature and dragged it into the file.
After you've added the signature, It should look like this:
Send your digital creation off to be printed. I used Costco because it was only 39 cents (.42 with tax) for a 5x7 print and it only took 1 hour.
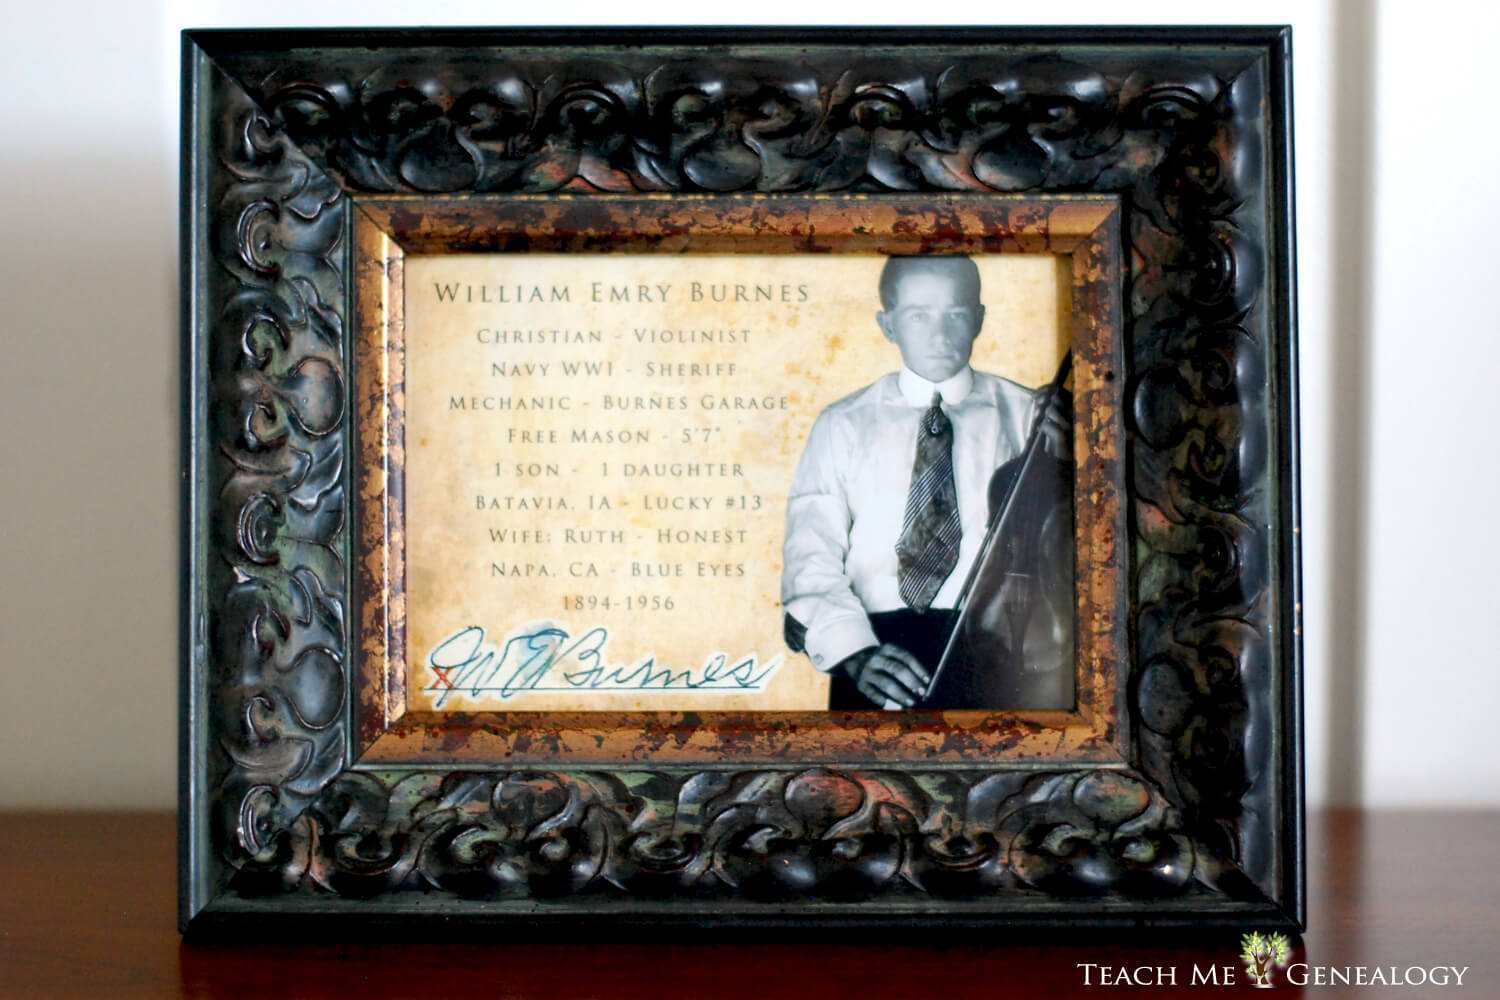
Now for the final touch; the frame. Get a 5x7 frame (mine is from Hobby Lobby $14) and frame your AMAZING HEIRLOOM.
WA-LA, YOUR DONE!! Notice how the 1/8th inch border was the perfect amount for framing.
Now for the final touch; the frame. Get a 5x7 frame (mine is from Hobby Lobby $14) and frame your AMAZING HEIRLOOM.
WA-LA, YOUR DONE!! Notice how the 1/8th inch border was the perfect amount for framing.
Total Cost: $14.42 (Includes frame and 5x7 print)
Total Time: 25-45 minutes
Don't have the time to do this?
The Teach Me Genealogy Design Team can create this for YOU for only $20
(high resolution jpg image w/ print release)
send an email to sarah@tmgenealogy.com with your image and keywords.
The Teach Me Genealogy Design Team can create this for YOU for only $20
(high resolution jpg image w/ print release)
send an email to sarah@tmgenealogy.com with your image and keywords.
"Connect The Dots"


